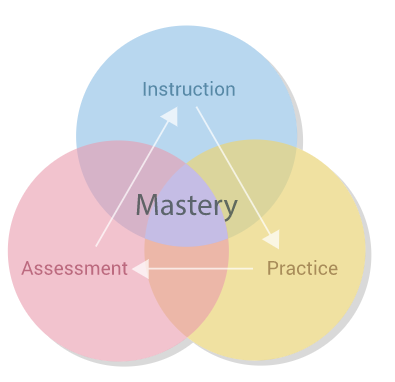
Mastery Learning
|
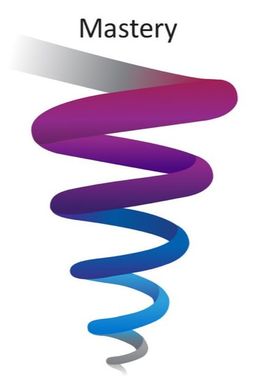
Spiral Learning
|
Week 1
|
Introduce and informally assess
|
|
|
|
|
WEEK 2
|
Always review previous weeks information
|
Assessment
|
|
|
WEEK 3
|
Assessment
|
|
|
|
WEEK 4

|
|
|

|
|
WEEK 5
|
|
WEEK 6
- Continue working chromatically regarding learning new notes
- Monitor tone quality
- Playing songs out of the book
- Begin to add specialty exercises (slow to fast)
- Finger Ninjas (isolate tricky finger patterns, such as flute C to D)
- Harmonics, Octave Slurs, etc.
- Tetra chords
- Finger Wiggles (monitor hand position in developing speed patterns)
- Articulations
- Technique (combine finger technique with articulations)
- Assessment
- Previous week(s)
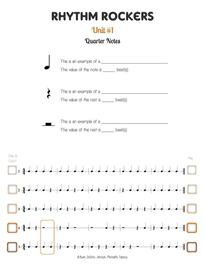
- Rhythm Rockers
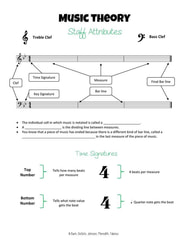
- Theory
- Playing Tests
- Tetra chords
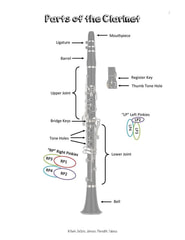
- Fingering tests
~WEEK 8
- Fall concert
- 5 note full band music
- Section songs for demonstration
End of the first semester
- Most woodwind classes will know the fingerings for full range and will have played these notes, but may not be proficient
- Will have played all tetra chords in a one octave range; some may play the tetra-chords in multiple octaves
- One octave scales
- Chromatic scale (partial range)
- Playing music using rhythms learned from Rhythm Rockers
- Instrument specific solos and ensembles
- Rhythmically: dotted quarter notes, sixteenth notes, possibly triplets and compound rhythms
- Winter concert with more challenging music
